JEN1 Cheatah Door Installation Tool
SKU
JEN1
$94.95


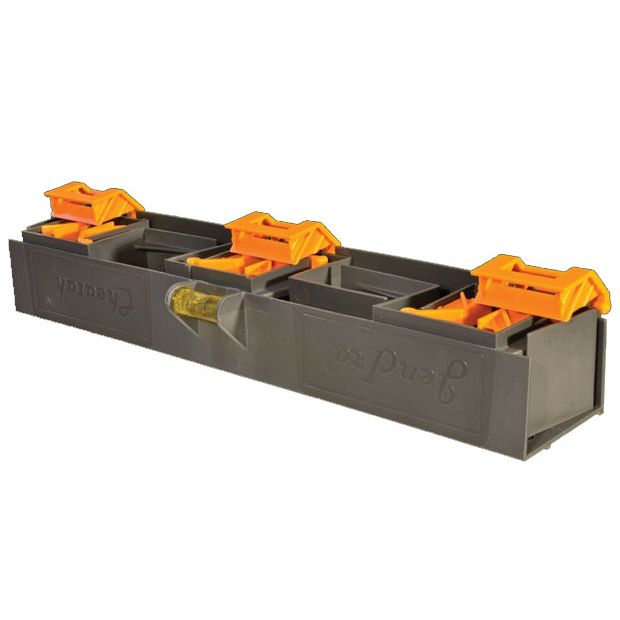
The CHEATAH™ door level kit makes installing a door simple and quick. Attach the CHEATAH directly to the top and sides of the door. The four precise levels work together to allow easy, accurate positioning of the door. Once level, the built-in shim guides let you correctly shim the jamb.
The CHEATAH works on all types of doors with perfect results each time. This door level kit is extremely durable and carries Jentra's100 Guarantee™. Save time and money installing doors right the first time, every time.
The JENTRA CHEATAH door level puts advanced speed and precision capability into the hands of all skill levels during installation, from DIYers to skilled artisans. This results in improved installation and function of doors, resulting in fewer warranty callbacks. Therefore, stakeholders of the door level include all steps in the industry: door manufacturers, distributors, contractors, and building owners.
Included
- 3 hinge pieces
- 3 Strike pieces
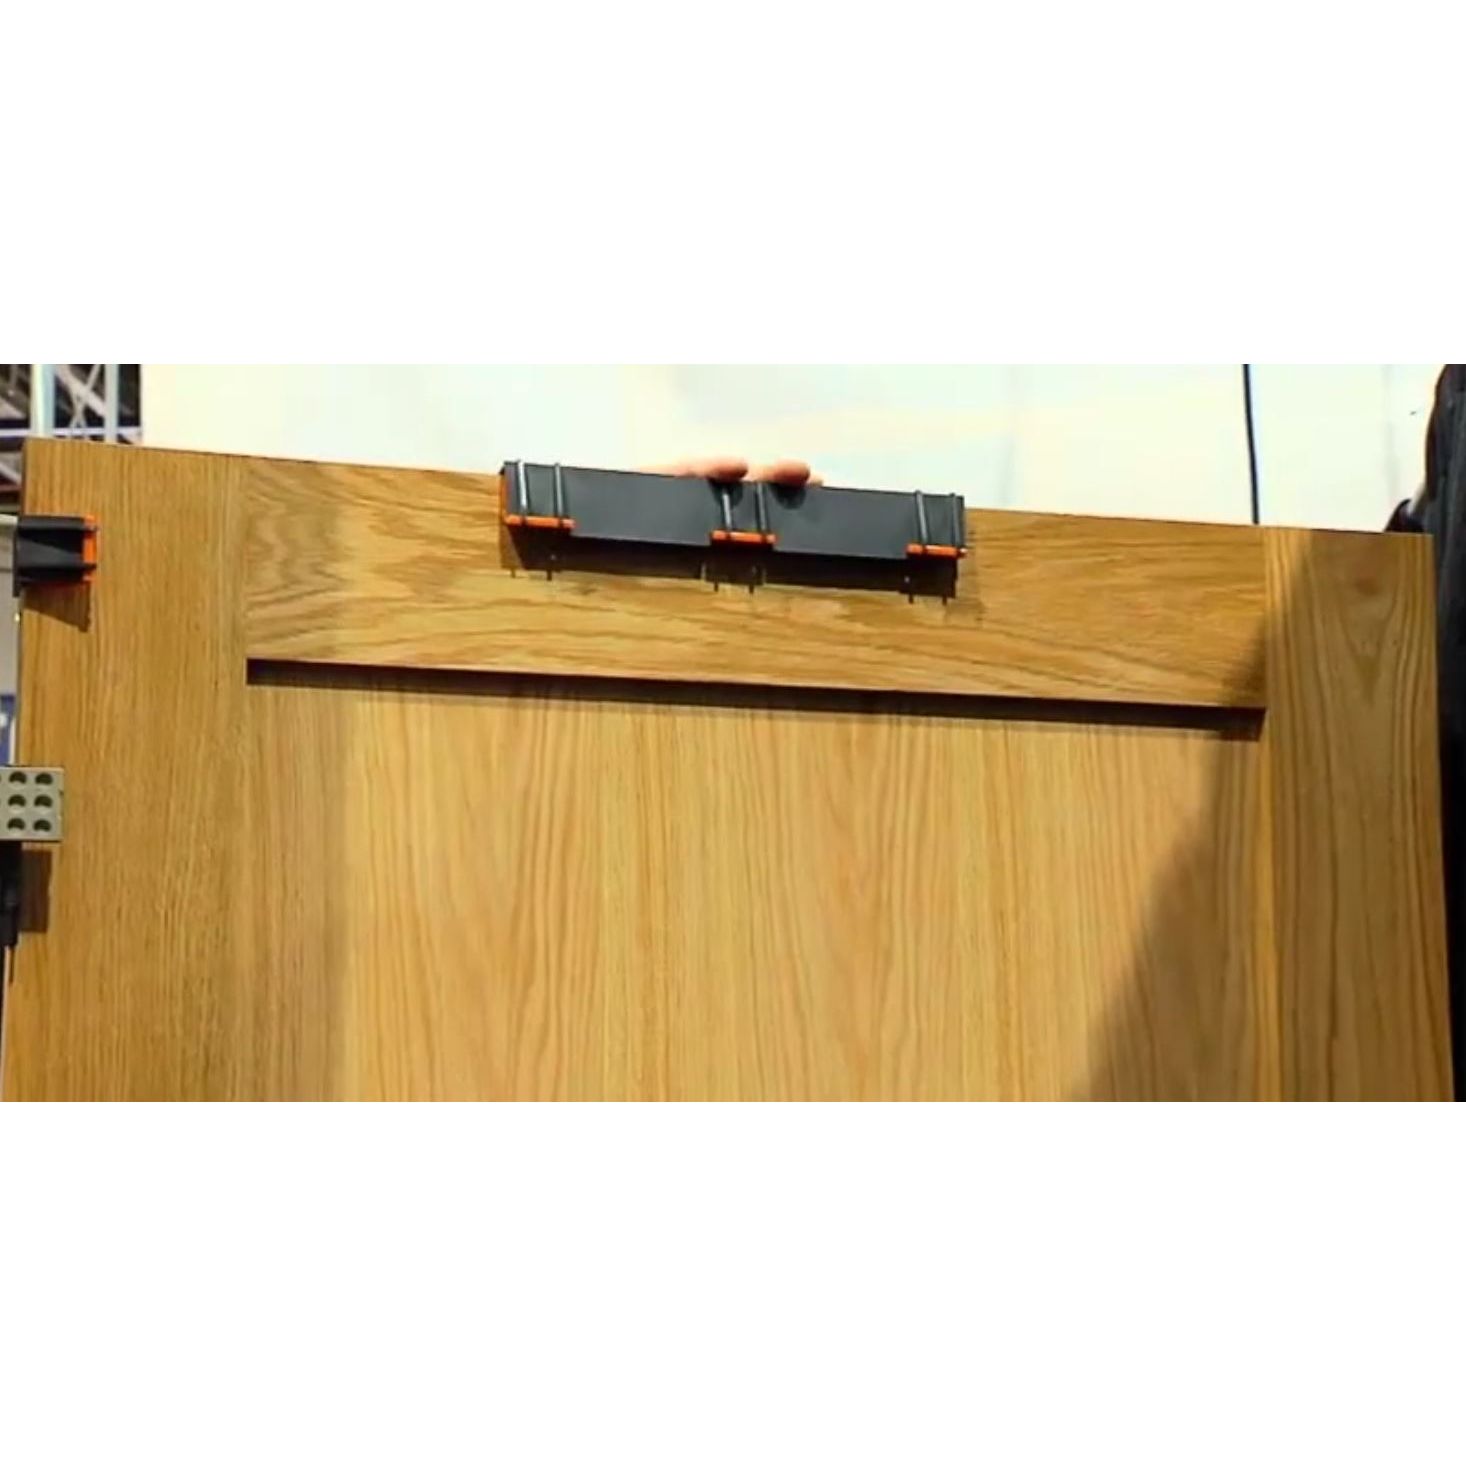
- 1 Top piece
Features
- Hands-free level
- Create the correct spacing during the entire door installation
- Parts easily attach
- Works on exterior or interior doors
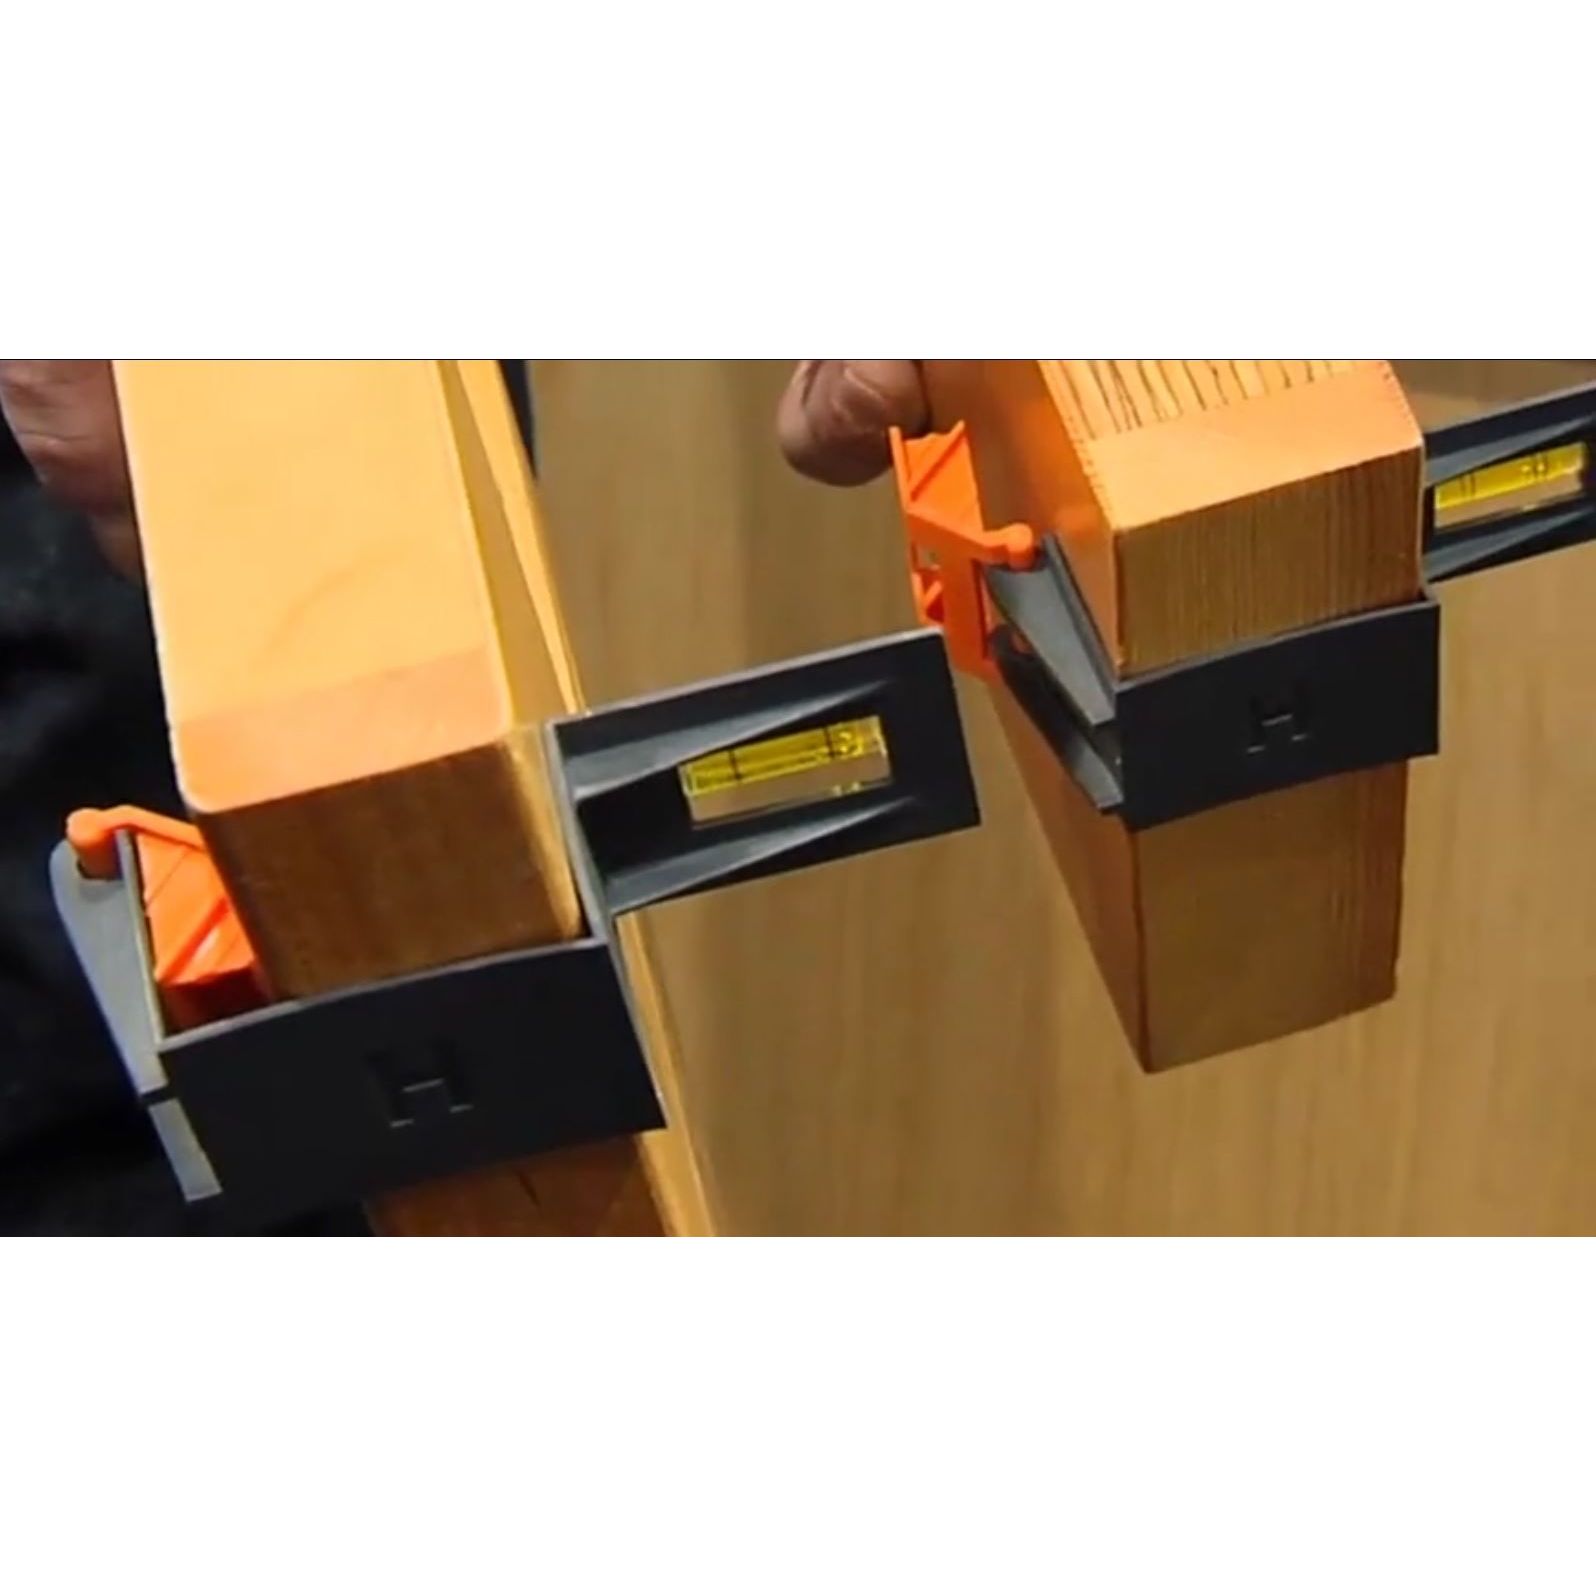
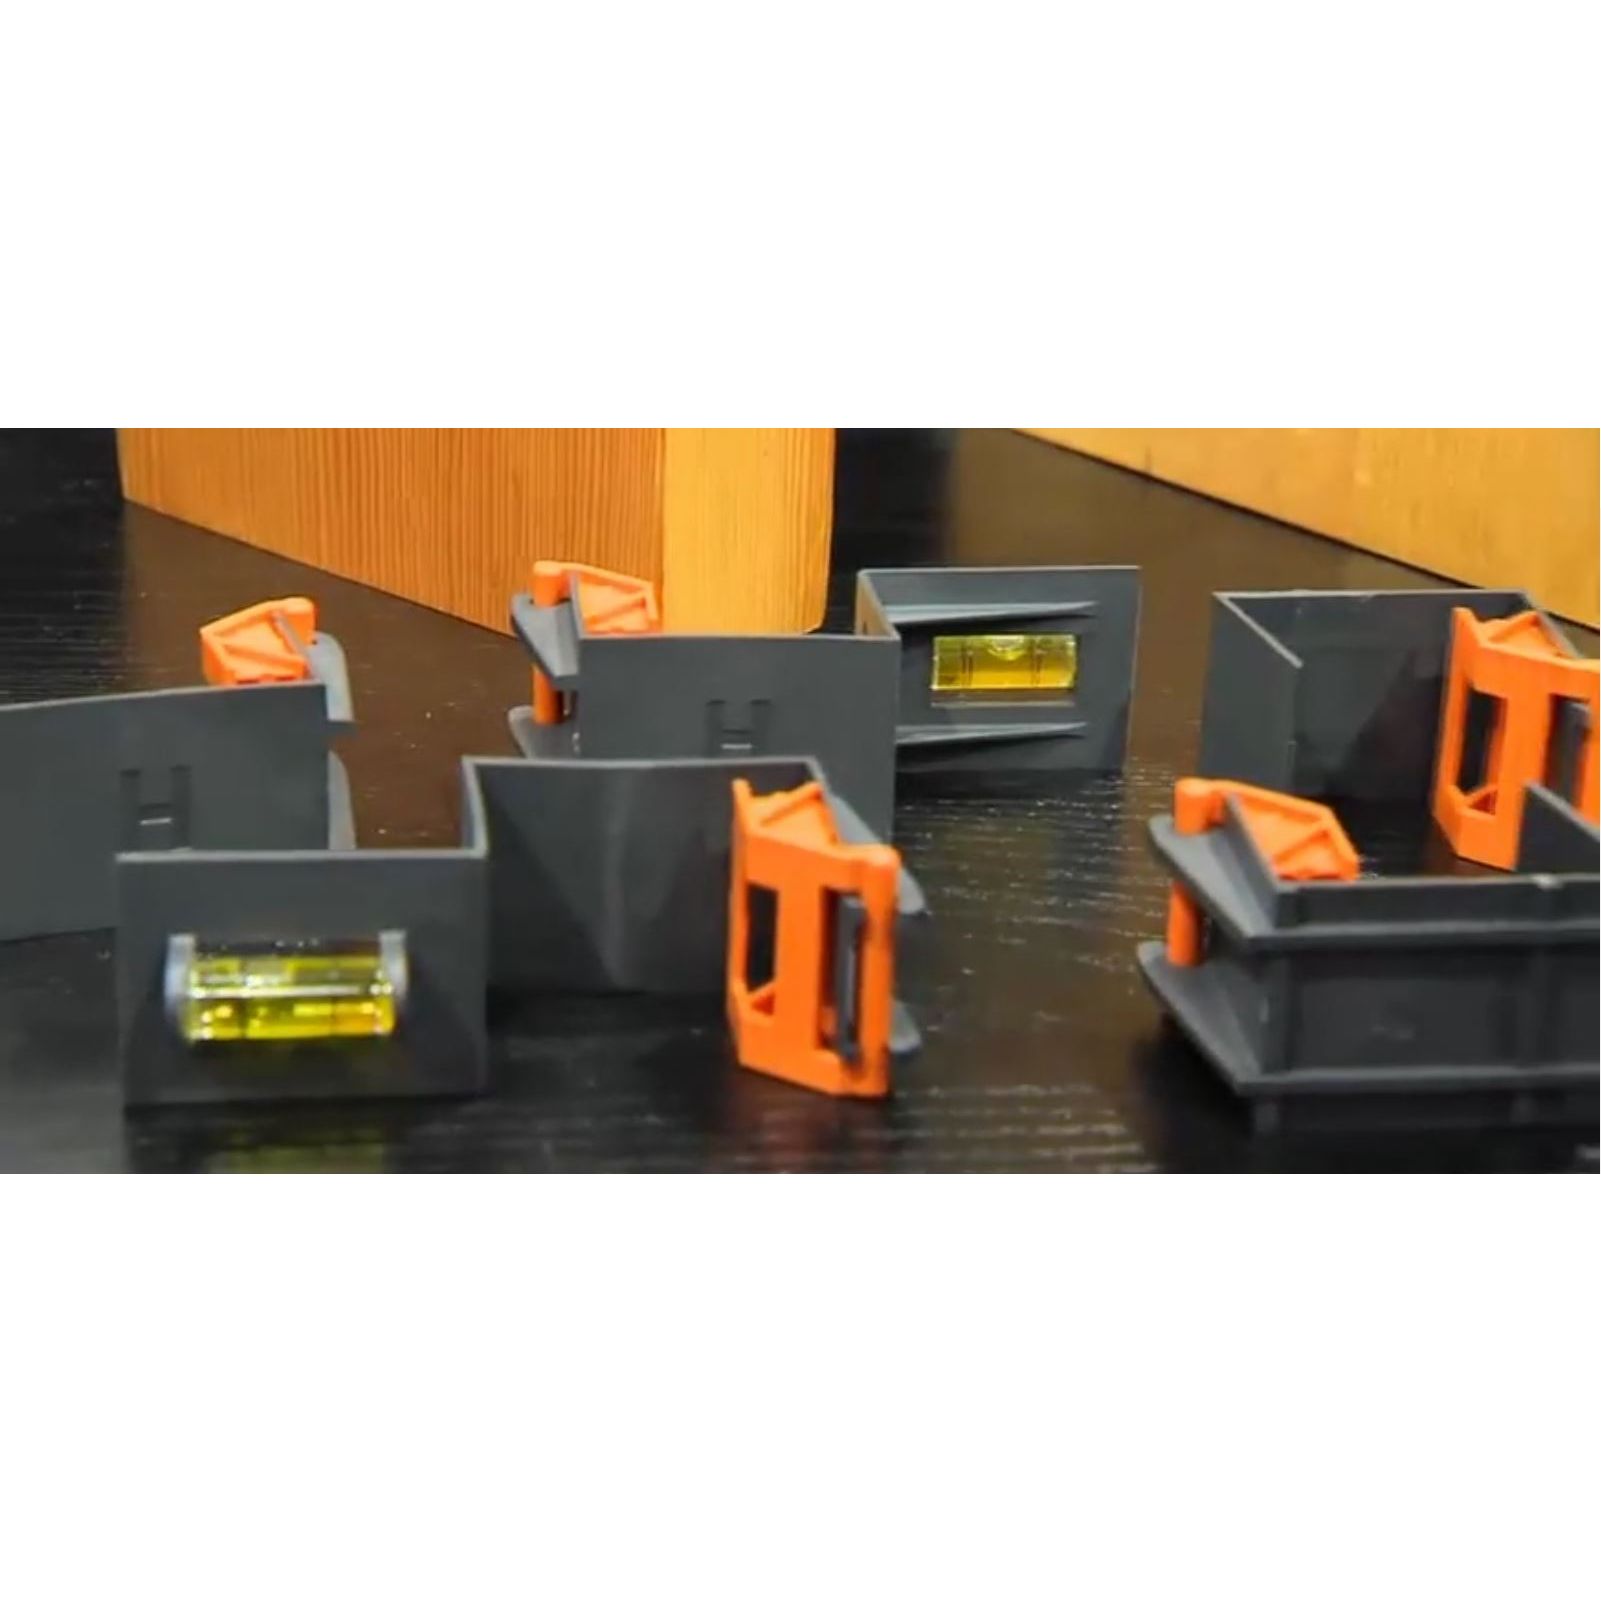
- Four precise built in levels. Show both level and plumb
- Built in shim spacers
- Compact design
- Fits both 1-3/8" and 1-3/4" thick door by placement of the orange spacer
How to use
- Place the unit into the RO and open the door past 90°. It will act like a kickstand to prop the frame up. Next, place the 3 parts labeled H at each door hinge and put Part T onto the top of the door. Place each Part S on the strike side of the door directly across from each Part H. The Orange Spacer should ALWAYS be on the hinge-pin side of the door.
- WITH THE DOOR OPEN, pull the frame back into the RO. Use the levels on Parts H and T to ensure the door is LEVEL and PLUMB before fastening. START AT THE TOP and work your way down the door – shimming and fastening at each hinge location. Take great care at this point that ALL levels read correctly before moving to next step. This is CRUCIAL to achieve an accurate install.
- GENTLY pull the door shut. The levels’ built-in shim pads will help guide the door into the frame. Next, insert shims snugly above Part T. All leveling parts are designed to act as spacers between the door and the jamb. Fasten through the jamb when ready. Notice how you can easily slide Part T along the top of the door allowing you to place shims where needed.
- WITH THE DOOR SHUT, start at the top and shim at the 3 remaining parts S until the shims feel snug. The shim pads will help keep you from putting your shims in too far. When you’re ready, fasten through the jamb at each part. Again, the parts can slide up and down if needed.
- Open the door and remove all leveling parts. Parts H and S are designed to fit compactly together inside of Part T. Be sure to keep your tool ready for its next use inside the provided micro-carrying bag!
This tool works on: Commercial and Residential doors – Single or Double doors – BOTH In-swing and Out-swing doors – Doors with Sidelights or Transoms – Doors with Applied Casing – even Split Jamb doors!
DOOR LEVEL KIT CHEATAH